How to take better photos on iPhone: 9 tips for any recent model
Clean the lens, find good light, use the grid, lock focus and exposure, skip digital zoom, then make a quick edit. Apple's current settings, step by step.
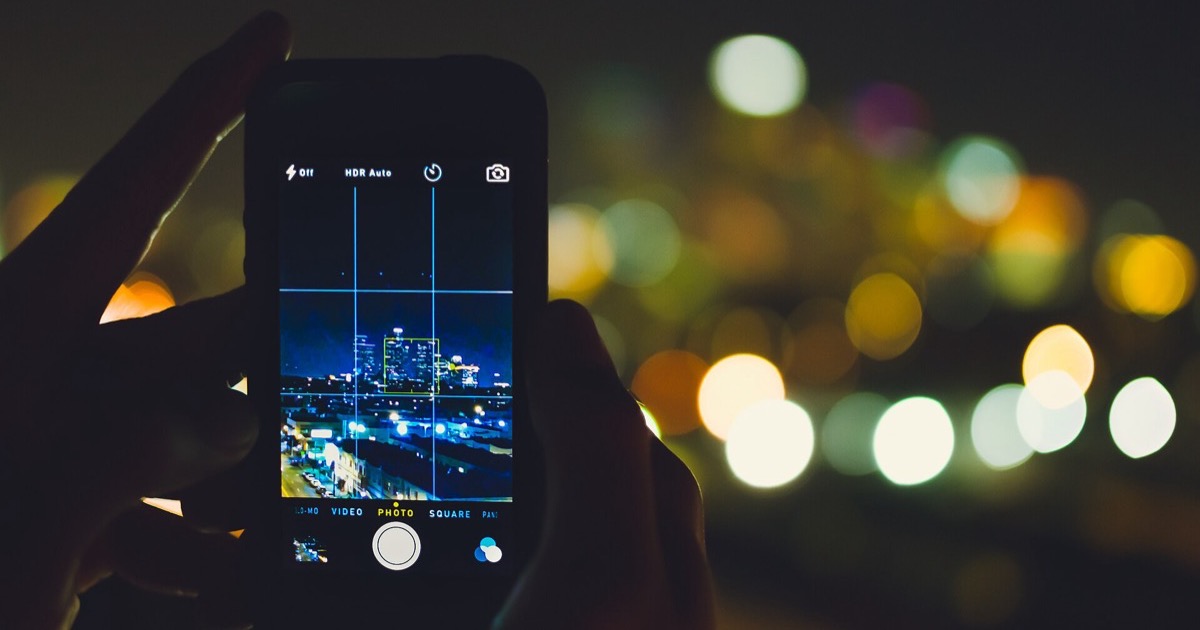
To take better photos on an iPhone, wipe the lens, move to better light, turn on the grid, set focus and exposure yourself, tap the zoom numbers instead of pinching, and finish with a quick edit. These tips run in the order that helps most. For what to shoot, see 20 photography ideas for beginners: this guide is how to shoot it.
Setting names come from Apple's iPhone User Guide for iOS 27, current as of November 2026, so a control may sit elsewhere on an older version of iOS.
1. Clean the lens
A fingerprint on the lens softens the whole picture, and no setting fixes it afterward. Apple's advice for blurry photos is to clean the front and back camera lenses with a microfiber cloth. For a fuller clean, it says to unplug the iPhone, turn it off and use a soft, slightly damp, lint-free cloth, keeping moisture out of openings and skipping compressed air.
2. Find better light
Light changes a picture more than any setting, and moving costs nothing.
- Use a window. Put your subject near one and let the daylight fall from the side, which shows shape and texture.
- Use a low sun. The hours near sunrise and sunset give softer, warmer light. At midday, step into open shade.
- Watch what's behind the subject. A bright window or sky behind a person leaves them dark, unless you want a silhouette.
- Turn off the flash for most shots. It flattens a nearby subject and doesn't reach a far one. Tap the Flash control above the camera frame to switch between Auto, On and Off.
In high-contrast scenes, iPhone already helps: by default, it blends several exposures with HDR when that's most effective.
3. Compose with the grid
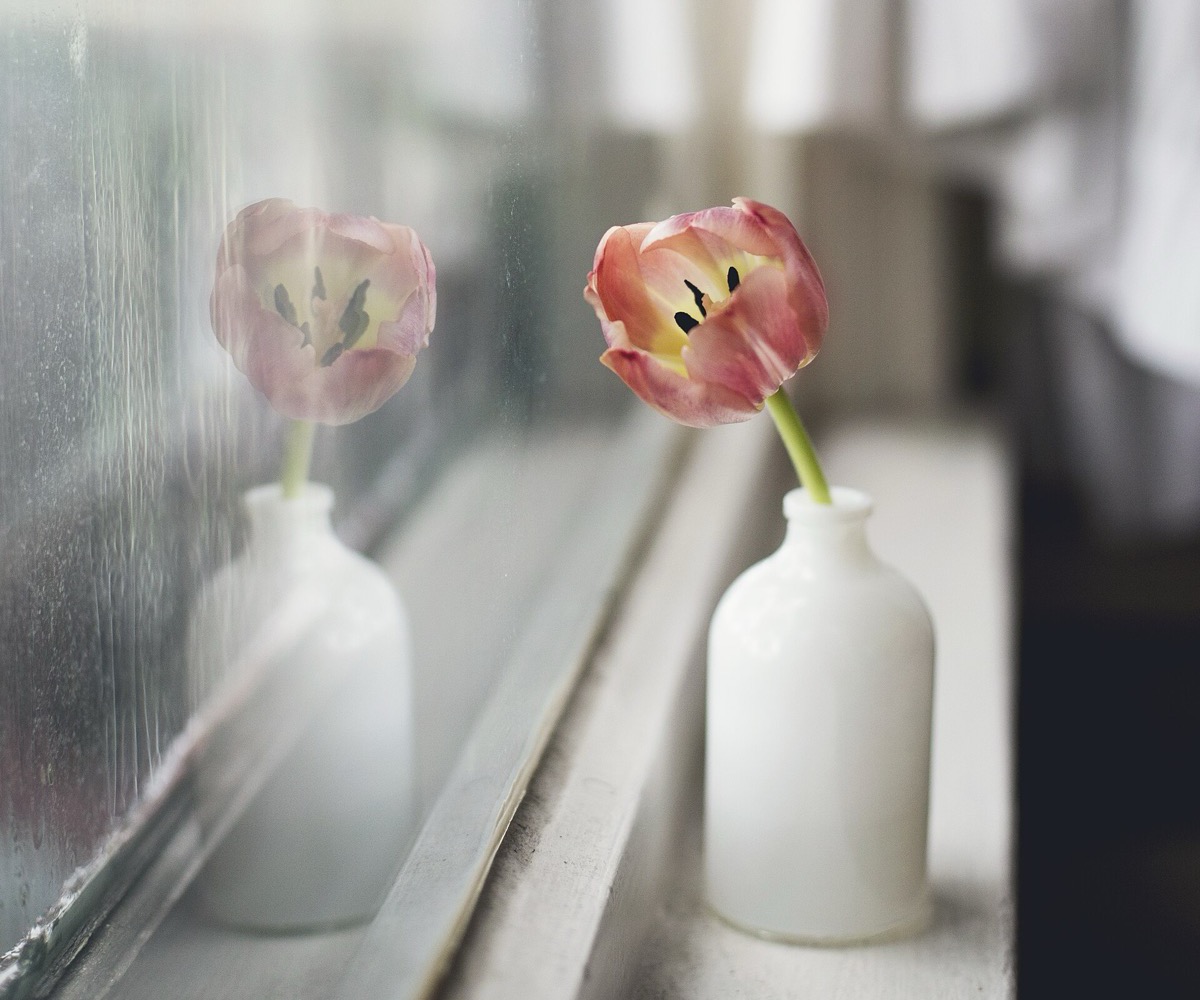
Go to Settings > Camera and turn on Grid and Level. The grid splits the frame into nine boxes.
- Place the subject on a line or a crossing, not dead center. A symmetrical scene is the exception.
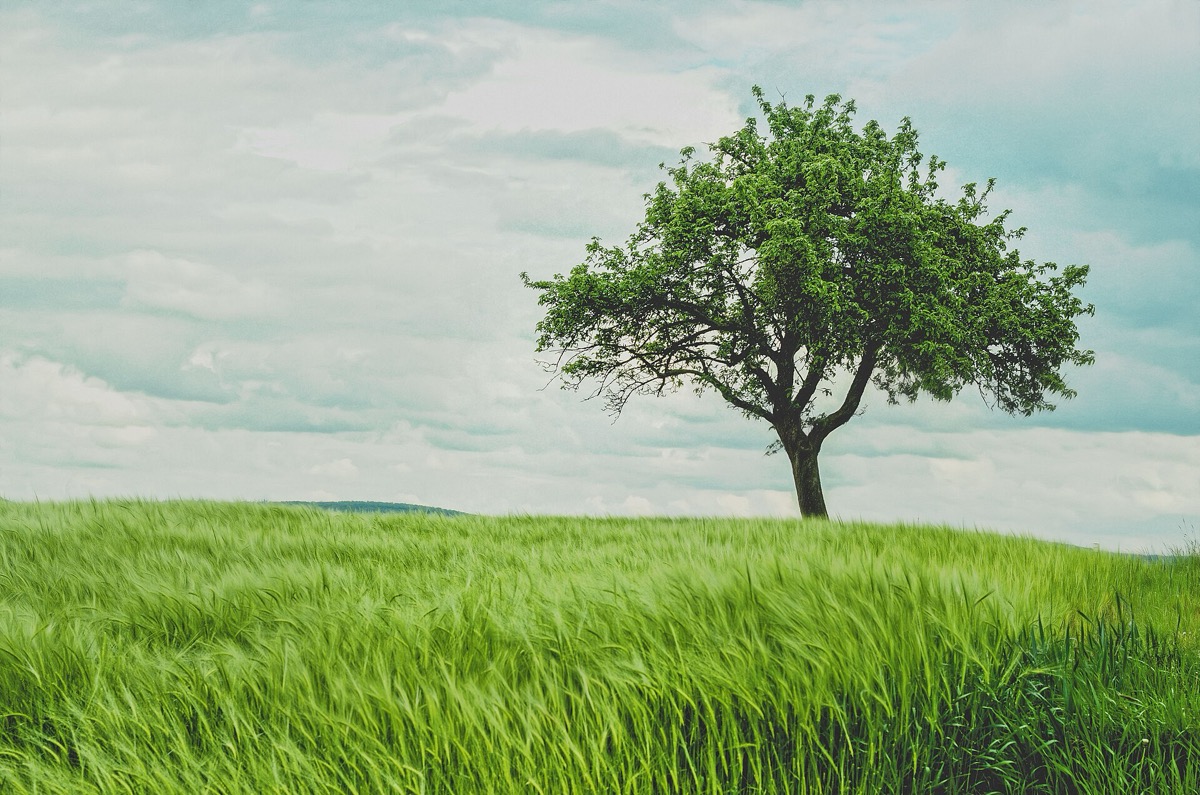
- Put the horizon on the upper or lower line, depending on whether the ground or the sky is the better half.
- Check the edges and the background. A pole behind a head pulls the eye, and one step sideways often clears it.
- Get closer, or lower. Most snapshots improve when the subject fills more of the frame.
4. Set focus and exposure, then lock them
Camera sets both on its own. When it guesses wrong, such as a bright sky behind a dark building, take over:
- Tap the screen where you want the focus.
- Drag the Adjust Exposure button next to the focus area up or down to brighten or darken the picture.
- To keep those settings for your next shots, touch and hold the focus area until you see AE/AF Lock. Tap the screen to unlock.
When you're unsure, lean slightly dark: detail in a blown-out sky is gone for good, while shadows can often be lifted in an edit.
On iPhone 18 Pro models and iPhone Duo, you can also tap a subject, then double-tap its yellow frame to keep it in focus as it moves.
5. Stay off the digital zoom
Digital zoom crops the picture and enlarges what's left, so it adds no real detail. A pinch, or a drag on the zoom control, can take you there.
Tap the numbered zoom buttons instead. Apple lists 0.5x, 1x and 2x as iPhone 17's optical zoom options, with digital zoom up to 10x. iPhone 18 Pro models list 0.5x, 1x, 2x, 4x and 8x, with digital zoom up to 40x.
Better still, walk closer. If you can't, shoot at the nearest button and crop in Photos later, where the edit can be undone.
6. Use the other lenses on purpose
Not every model has every lens: iPhone Air and iPhone 17e have one rear camera, with 1x and 2x options.
- Ultra Wide (0.5x) fits rooms, tall buildings and wide views. Things near the edges can look stretched, so keep what matters toward the middle.
- Main (1x) is the one for dim light. On iPhone 17 it's ƒ/1.6 against the Ultra Wide's ƒ/2.2, and a wider opening lets in more light.
- Telephoto (2x and up) suits people and small details, since you stand farther back and the background looks simpler.
- Macro has no number of its own. On supported models, Camera switches to the Ultra Wide camera when you get close, as close as 2 centimeters. Those models are the iPhone 13, 14 and 15 Pro models, iPhone 16, 16 Plus, 16 Pro and 16 Pro Max, iPhone 17, 17 Pro and 17 Pro Max, iPhone 18 Pro models and iPhone Duo.
7. Portrait and Night modes
Portrait mode keeps the subject sharp and blurs what's around it. Swipe left to Portrait and leave some distance between the subject and the background. Afterward, in Photos, tap the Edit button, tap Portrait and drag the Depth Control slider to change the blur.
On the iPhone 15 and later models Apple lists (iPhone 16e isn't one), a photo of a person, dog or cat taken in Photo mode can become a portrait later. Open it, tap the Portrait Off button, then tap Portrait.

Night mode works on iPhone 11 and later, but not on iPhone SE models. In low light it turns on automatically. Tap the Shutter button and hold still, and if crosshairs appear, align them to reduce motion. Apple suggests a tripod for even more detail.
8. Take more than one: burst and Live Photos
For anything moving, use Burst: drag the Shutter button left to fire rapidly, then lift your finger. Holding it without dragging starts a video instead. To choose your keepers, tap the Burst thumbnail, then Burst (number) at the top left, tap the circle on each one you want, and tap the Done button.
Live Photos capture what happens just before and after the shot, and they're on by default. That's a second chance when someone blinks: in Photos, open the picture, tap the Edit button, tap the Live Photo button, move the white frame to a better moment, then tap Make Key Photo and Done.
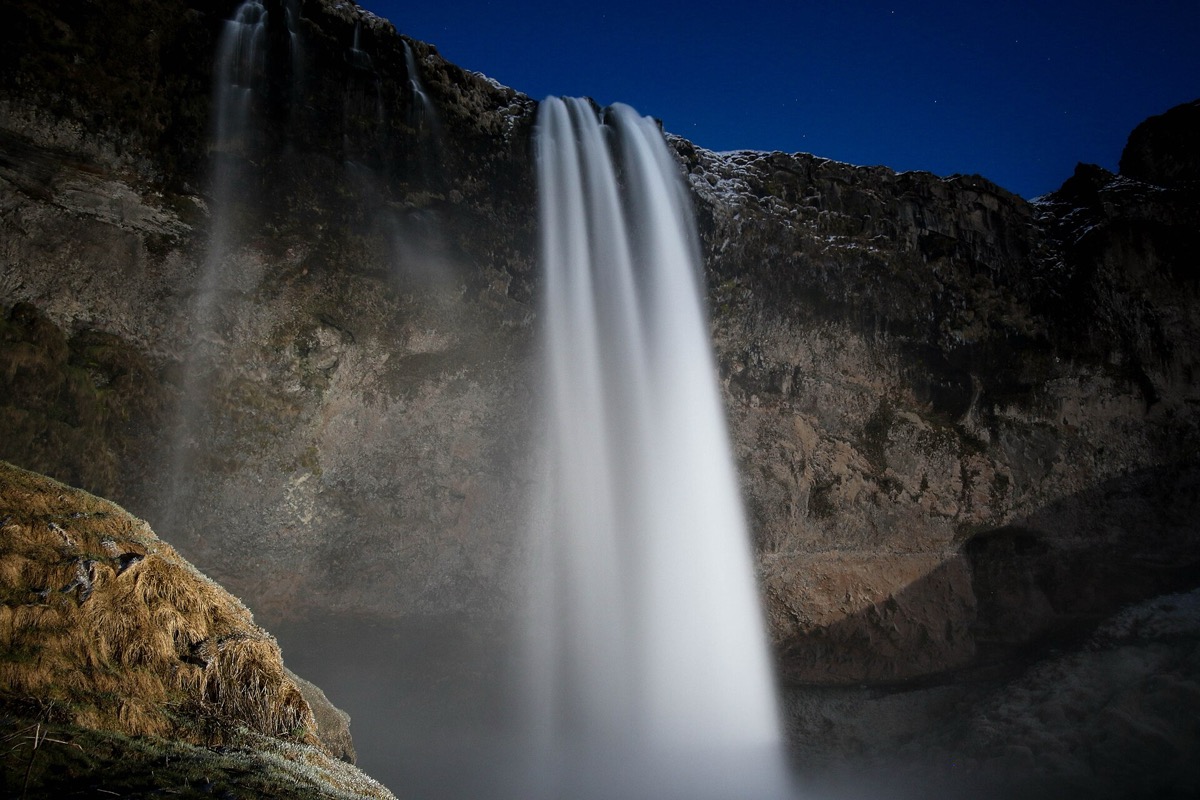
They can also blur motion. Keep the phone still while shooting moving water or traffic, open the Live Photo, tap Live at the top left and choose Long Exposure.
9. Finish with a quick edit
In Photos, open the picture and tap the Edit button.
- Crop and straighten. Tap the Crop button, drag the corners and use the buttons below the frame to straighten.
- Fix the light. Tap Adjust, then the Enhance button for an automatic start. Then tap a setting such as Exposure or Highlights and drag its slider. Lowering Highlights can bring back a bright sky.
- Compare. Tap the photo to see the original, then tap Done.
To undo it later, tap the Edit button, then Revert. On an iPhone 15 Pro, iPhone 15 Pro Max or an iPhone 16 model or later, you can also remove a distraction: tap Tools, then Clean Up. It uses Apple Intelligence, which isn't available in all languages or regions.
Frequently asked questions
Why are my iPhone photos blurry?
Start with the lens. Apple's first fixes are to clean the camera lenses with a microfiber cloth and remove any case, film or accessory that might block the camera. Then tap your subject to set focus and hold still.
What are the best iPhone camera settings?
The defaults do most of the work, including automatic HDR and Night mode. In Settings > Camera, turn on Grid and Level, and turn on Use Volume Up for Burst if you want a button for bursts.
How do I lock focus on my iPhone camera?
Tap your subject, then touch and hold the focus area until AE/AF Lock appears. That locks focus and exposure for your next shots.
Why does my iPhone camera switch lenses up close?
That's macro. On supported models, an Auto Macro button appears at that distance, and tapping it turns the switching off.
Start Pics Please
A weekly photo contest: pitch the theme, shoot the challenge, and see who won and why at the weekend.
Psst is invite-only. Sign up with code PICSPLEASE
Scan with your iPhone / Download Psst
Psst is invite-only. Sign up with code PICSPLEASE
Sources
- If the camera or flash on your iPhone or iPad isn't working
- How to clean your iPhone
- Use iPhone camera tools to set up your shot
- iPhone camera basics
- Adjust HDR camera settings on iPhone
- Digital zoom
- Compare iPhone models
- iPhone 17 tech specs
- iPhone 18 Pro and iPhone 18 Pro Max tech specs
- Take macro photos and videos with your iPhone camera
- Models that support macro photography
- Take portraits with your iPhone camera
- Edit Portrait mode photos on iPhone
- Models that support portrait capture in Photo mode
- Take Night mode photos with your iPhone camera
- Models that support Night mode
- Capture action shots with Burst mode on your iPhone camera
- Take great photos and videos
- Take Live Photos with your iPhone camera
- Edit Live Photos on iPhone
- Edit photos and videos on iPhone
- Crop, rotate, flip, or straighten photos and videos on iPhone
- Clean up, extend, and reframe photos on iPhone
- Seljalandsfoss waterfall in motion (Wikimedia Commons file page)
